Overview of events
The event overview under Dashboard -> Events: provides you with a clear overview of all events that have already been created.
Here you will find:
- Name of the event
- Start and end date
- View or edit details
By clicking on the blue eye icon ![]() you can access further information about the event or make changes.
you can access further information about the event or make changes.
🛠 Step-by-step guide to creating an event
Here's how to easily create an event in your app:
1️⃣ Navigation in the dashboard
- Go to Content → Events.
- Then click on the "+ Create event" button to create a new event.
2️⃣ Add general information
- Name: Enter a meaningful title for your event.
- Internal name: Optional – Only visible in the dashboard to make it easier to identify the event.
- Description: Add a detailed description of the event. Here you can highlight key points or important details.
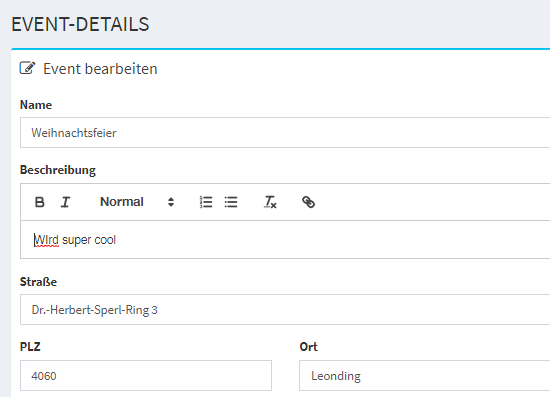
3️⃣ Set the time and place
- Street, zip code, and city: Enter the exact address where the event will take place.
- Start and end: Set the date and time when the event starts and ends.

4️⃣ Requirements (optional)
- Select one or more segments to define which customers can view the event.
(For example: Only for VIPs or active users).
5️⃣ Add design
- Image: Upload an appealing image that visually supports your event.
6️⃣ Categorization of the event
- Select the category, year, and month to clearly structure the event.
7️⃣ Save
- Click "Save" to create the event and make it available in the app.
 💡 Tip:
Click "Inform customers now" and use push notifications to remind your customers about the event in good time! 🎯
You can find detailed instructions on how to do this here.
🎥 Video tutorial
Our video tutorial shows you the entire process step by step.